If you’re looking to schedule social media post YouTube Shorts or regular videos, we’ve got you covered—check out our dedicated tutorial here. For TikTok, head to the Post > TikTok Publish menu to publish and schedule your content. Excitingly, we’re working on enabling simultaneous YouTube and TikTok scheduling directly via the Calendar feature—stay tuned for this upcoming update!
Video Tutorial to Publish and Schedule Social Media Post Across Platforms Via Sociosight Dashboard #
Whether you’re scheduling for Facebook Pages, Instagram Business, Pinterest, LinkedIn Profiles, or LinkedIn Company Pages, this video covers it all! If you’re a visual learner, this is the perfect way to see the Sociosight app in action.
Steps to Publish and Schedule Your Posts Through Sociosight, one of Most Intuitive Social Media Scheduling Tools in the Market. #
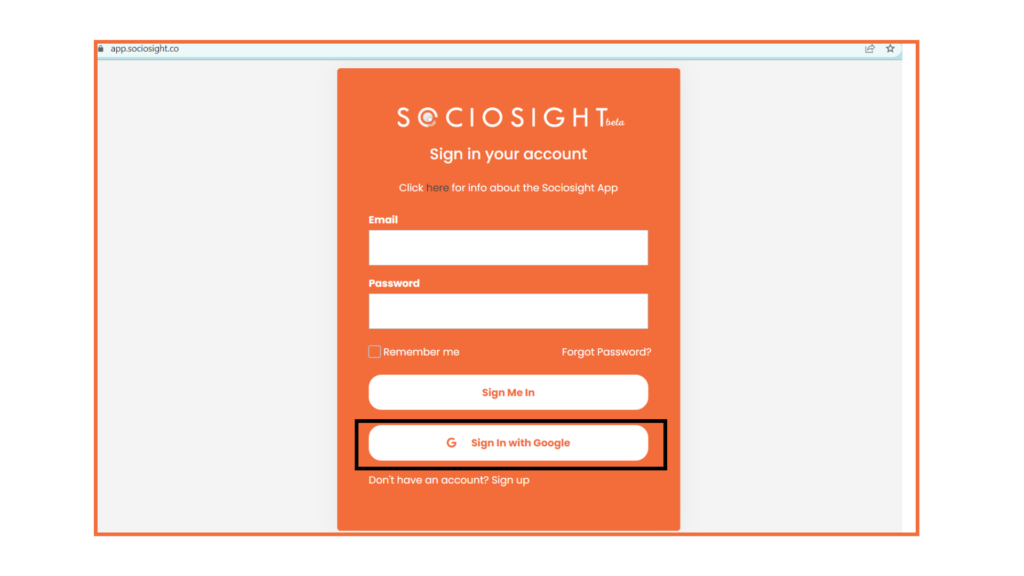
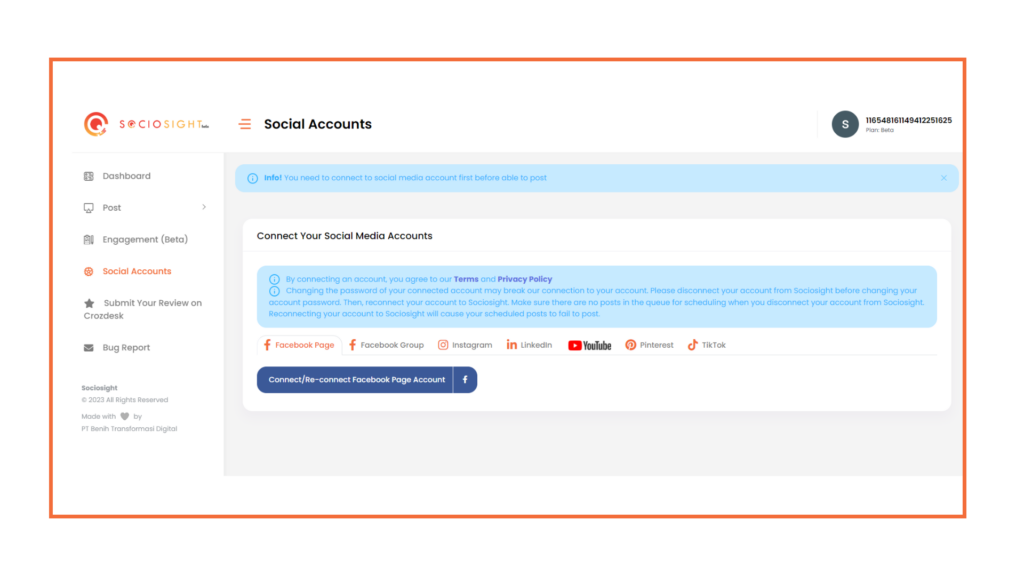
Sign Up and Connect Sociosight App #


Schedule a Post using the Sociosight Calendar, Social Media Management Tools #
Before publishing or scheduling your social media posts through the Sociosight Calendar, ensure your post meets the guidelines. Reviewing a few key writing requirements for each social media profile is helpful. You can access these guidelines by clicking the (i) icon next to the social media account name on the Post Preview dashboard. Here are some brief guidelines for different platforms:

[1] Under the Post menu, click on Calendar.
[2] Point your cursor to the date you want to schedule your post.
[3] A “Click for New Post” button will appear. Click it, and the new post dashboard will pop up.

[4]From the Drop-Down List, select the social media account where your post will be published.


[5] Add Media:
- Click the camera icon to add media.
- You’ll see two options in the drop-down list: Add Image/Video and Add Video Cover.
- Add Image/Video: Ensure your files meet these requirements: Image: Maximum size of 10 MB; Video: Maximum size of 300 MB; Video duration: Minimum: 3 seconds, Maximum: 10 minutes for LinkedIn/Pinterest, 15 minutes for Instagram, 20 minutes for Facebook.
- Add Video Cover: If you upload a video for Instagram Reels, you can use the Add Video Cover feature (this feature is only for Reels).
- Need to remove a specific image or video from your upload? No worries! Simply click on the (x) icon next to the image to delete it. You have the flexibility to remove one or multiple images as needed.
- Want to rearrange your media? It’s simple! Just drag and drop the images into your desired order.


[6] Add a Caption:
- Enter your caption, keeping in mind the character limits for each platform.
- Express with Emojis: Add an extra touch of personality to your post by effortlessly including emojis. Just a few clicks, and your message will be even more engaging.
- If your caption exceeds the limit, you’ll see a notification on the preview page: “Sorry! The character length exceeds the specified limit.”
- Since you are publishing a single post across multiple platforms simultaneously, you may need to edit the caption for each platform.

[7] Customize Captions Per Platform:
- To edit captions individually, check the Customize Post box.
- A message will appear about customizing posts—click Confirm.
- Edit the captions to meet the guidelines for each platform.

[8] Once you have finished customizing your posts for each social media profile, you have two options to proceed. If you want to publish your posts immediately, click the “Publish Now” button. If you prefer to schedule your posts for a specific time in the future, click the “Schedule” button. Click the Schedule button. Set the desired time and time zone (if needed), and click Schedule again to confirm.

[9] Once scheduled, your post will appear on the calendar.
How to Post Instagram Stories Using Sociosight App #
Instagram Stories are a powerful way to connect with your audience, and Sociosight makes it effortless to schedule and publish them. Whether you’re sharing a single image, a series of videos, or a mix of both, Sociosight’s intuitive dashboard ensures that your content reaches your audience at the right time.
Follow the steps below to post your Instagram Story seamlessly:
[1] Open the Calendar from the Sociosight dashboard.
[2] Click the New Post button to open the New Post Dashboard.
[3] Choose the Instagram account where you want to publish your Story.
[4] Check the box labeled “Publish Instagram Post as a Story/Stories.
Note: You can post multiple images or videos as a Story. Each piece of media will be uploaded individually to Instagram with a slight delay, maintaining the order in which they appear in the dashboard.
Important Details:
- The leftmost position of your media will be published first.
- Stories published through this option will not appear on your feed.
- Captions added here will not appear on Instagram Stories.
- Video requirements: Minimum duration is 3 seconds, and the maximum is 60 seconds.
[5] Click the Camera icon and select Add Image/Video. Arrange your files in the desired order.
[6] To Publish Immediately: Click the Publish button. Once published, your post will appear in the Sent tab on the Calendar or Published Post Timeline tab on the History menu. To Schedule Your Story: Click the Schedule button. Set the time and time zone, then confirm. Your scheduled Story will appear on the Schedule tab on the Calendar or Scheduled Timeline tab on the History menu.
Viewing the Post List #
While you can view your scheduled posts, published posts (posts published via Sociosight to your social media accounts), and your feed (social media posts regardless of the platform used to publish) on the calendar, you can also view your content in the “History” menu with the following steps:


